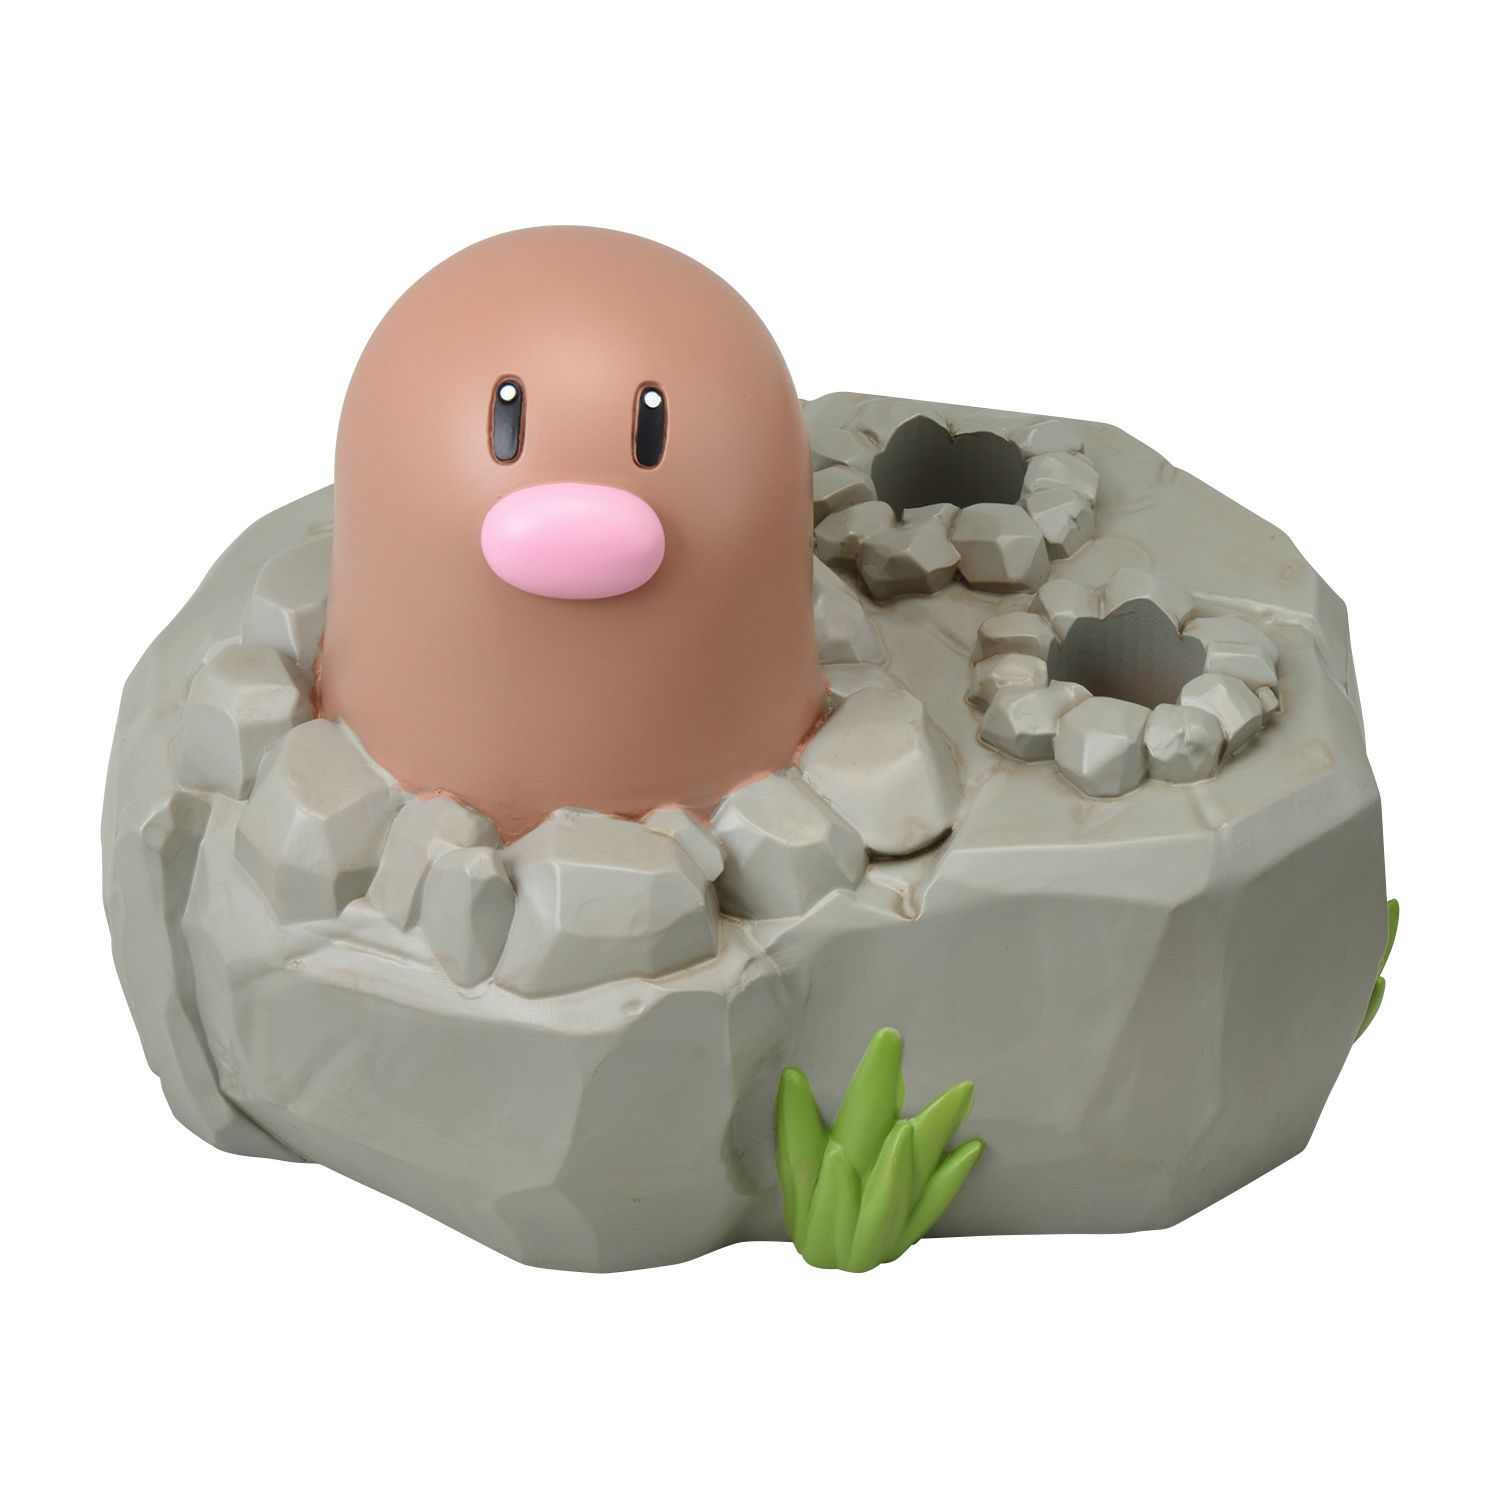
두더지게임을 svelteKit에서 그려보면 어떨까 with 함수형코딩
_1740577317956.jpeg)
두더지게임 모듈화하기 (1) feat 함수형 코딩 를 바탕으로 client 화면을 그려보자.
기본 사항 규정
어쩌다보니 svelte5의 rune을 사용했다. $state
$derived
$effect
    let gameState = $state<GameState>({
        isPlaying: false,
        score: 0,
        moles: []
    })

    // Derived state for UI conditions
    let showStartButton = $derived(!gameState.isPlaying)
    let showGameOver = $derived(!gameState.isPlaying && gameState.score > 0)

    // 구독 설정 및 해제
    $effect(() => {
        console.log('effect 실행: 구독 설정')

        const handleStateChange = (newState) => {
            gameState = {
                isPlaying: newState.isPlaying,
                score: newState.score,
                moles: newState.moles.map((isVisible) => ({
                    isVisible,
                    timeoutId: null
                }))
            }
        }

        const unsubscribe = gameInstance.subscribe(handleStateChange)

        // cleanup 함수
        return unsubscribe
    })

    const handleStart = () => {
        gameInstance.startGame({
            moleCount: 9,
            gameDuration: 15000,
            moleDuration: 1200
        })
    }

    const handleWhack = (index) => {
        gameInstance.whackMole(index)
    }

    }
게임을 시작하는함수 ( handleStart )
두더지를 갈기는 함수 ( handeWhack )
를 구현했다. gameInstance를 활용했다.
gameInatnace의 경우는 모듈에서 싱글톤으로 구현된 인스턴스를 불러왔다.
//digda.js
export default createMoleGame() // 기본 인스턴스 생성

//+page.svelte
    import gameInstance from '$lib/components/game/digda.js' // 기본 인스턴스 import
UI 분석
<svelte:head>
    <style>
        /* 전역 스타일 적용 */
        body {
            user-select: none;
            -webkit-user-select: none;
            -moz-user-select: none;
            -ms-user-select: none;
        }
    </style>
</svelte:head>

<div class="container mx-auto p-4" style="user-select: none; -webkit-user-drag: none;">
    <h1 class="text-2xl font-bold mb-4">두더지를 잡아라</h1>
    <div class="mb-4">
        {#if showStartButton}
            <button
                class="bg-blue-500 hover:bg-blue-600 text-white px-4 py-2 rounded-lg transition-colors"
                onclick={handleStart}
            >
                게임 시작
            </button>
        {/if}
    </div>

    {#if gameState.isPlaying}
        <p class="text-xl font-semibold mb-4">Score: {gameState.score}</p>
        <div class="grid grid-cols-3 gap-3 max-w-[300px] mx-auto">
            {#each gameState.moles as mole, index}
                <button
                    class="aspect-square text-3xl bg-gray-600 hover:bg-gray-700 active:scale-95 rounded-lg transition-all duration-100 ease-in-out"
                    onclick={() => handleWhack(index)}
                    draggable="false"
                >
                    {#if mole.isVisible}
                        <img src={digda_mole} alt="digda" class="w-full h-full" draggable="false" />
                    {:else}
                        🕳️
                    {/if}
                </button>
            {/each}
        </div>
    {:else if showGameOver}
        <p class="text-xl font-semibold text-center">게임 종료! 최종 점수: {gameState.score}</p>
    {/if}
</div>
선택 및 드래그 방지: 모든 요소에 user-select: none과 draggable="false" 적용으로 게임 플레이에 집중할 수 있음
게임시작
        {#if showStartButton}
            <button
                class="bg-blue-500 hover:bg-blue-600 text-white px-4 py-2 rounded-lg transition-colors"
                onclick={handleStart}
            >
                게임 시작
            </button>
        {/if}
대충 코드를 보면 알게될 것이고, 핵심인 구독시스템에 대해 말해보자
구독 패턴이 작동하는 이유
$effect 내에 구현된 구독 패턴은 Svelte 5의 반응형 시스템과 게임 로직의 옵저버 패턴을 연결하는 핵심 부분입니다. 세부적으로 살펴보겠습니다.
- 컴포넌트 생명주기와 실행 시점
$effect(() => {
    console.log('effect 실행: 구독 설정')
    // ...구독 로직...
    return unsubscribe
})
초기 실행: 컴포넌트가 처음 렌더링될 때 자동으로 실행 반환 함수: 컴포넌트가 제거될 때 또는 effect가 다시 실행되기 전에 호출 의존성 자동 추적: React의 useEffect와 달리 의존성 배열을 명시적으로 지정하지 않아도 됨
- 양방향 상태 동기화 메커니즘
const handleStateChange = (newState) => {
    gameState = {
        isPlaying: newState.isPlaying,
        score: newState.score,
        moles: newState.moles.map((isVisible) => ({
            isVisible,
            timeoutId: null
        }))
    }
}
게임 상태 → UI 상태: gameInstance에서 상태가 변경될 때마다 handleStateChange 함수가 호출됨 데이터 변환: 게임 코어의 데이터 구조를 UI에 적합한 형태로 변환 반응형 업데이트: gameState가 $state로 선언되었기 때문에, 이 값의 변경은 자동으로 UI 업데이트 트리거
- 이벤트 버스 구현
const unsubscribe = gameInstance.subscribe(handleStateChange)
이 코드는 게임 인스턴스의 옵저버 패턴 활용:
구독: gameInstance.subscribe()는 상태 변경을 알리는 시스템에 콜백 등록 알림 수신: 게임에서 notifySubscribers()가 호출될 때마다 콜백이 실행 연결 해제: 반환된 unsubscribe 함수는 구독을 제거하는 함수
- 메모리 관리와 클린업
// cleanup 함수
return unsubscribe
메모리 누수 방지: 컴포넌트가 제거될 때 구독을 해제하여 메모리 누수를 방지한다. 안전한 해제: 컴포넌트가 UI에서 제거되어도 게임 인스턴스는 계속 존재하므로, 구독 해제가 필수적 이러한 방식으로 UI 컴포넌트와 게임 로직 사이에 느슨한 결합(loose coupling)을 유지하면서도, 상태 변화를 실시간으로 반영할 수 있는 효율적인 구조가 만들어진다.
생각보다 재밌고 어려운 1인 두더지 게임이 구현되었다. 다음은 1인게임 2인게임을 선택하는 환경설정을 만들고, socket을 활용한 2인 두더지 게임을 만들어보겠다.

마지막으로 게임정보를 저장하고 명예의전당을 만들어봐도 재밌겠다.

_1736326849644.jpeg)